You have fiat money in your bank account and you want to put it to work in the crypto world, but every guide jumps straight into jargon. The core move is simple: convert fiat into a dollar-pegged stablecoin, send it to a wallet you control, then use it for spending or earning. This walkthrough shows you how to convert fiat into USDT or USDC step by step and breaks the process into three beginner-friendly paths so you can pick the one that fits your situation.
The short answer
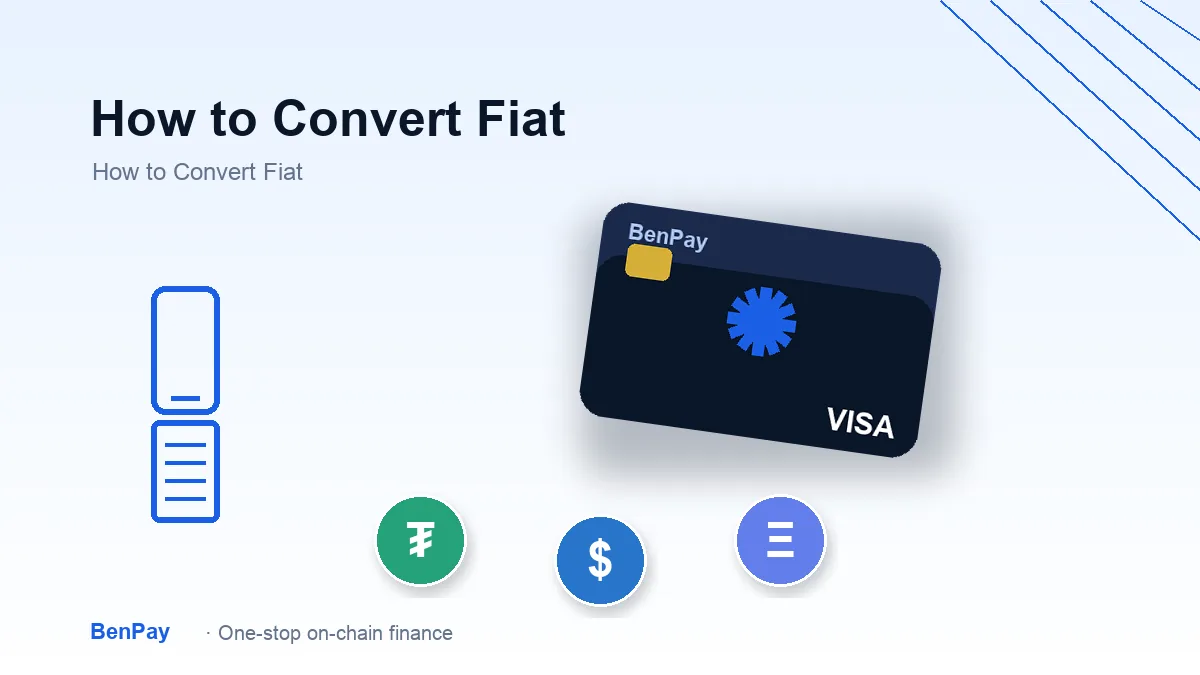
Buy a stablecoin like USDT or USDC with your money, withdraw it to a self-custodial wallet (a wallet where only you hold the private keys, not the platform), then top up a crypto card or move it into a DeFi earning option. When you convert fiat this way, the fiat-to-stablecoin step is the only part you do outside BenPay. BenPay is a one-stop on-chain financial platform that brings store, earn, spend, and transfer together in one self-custodial account. BenPay is operated by BenFen Inc., a US-registered fintech company holding a valid FinCEN MSB license (Reg. No. 31000260888727), and BenPay’s smart contracts are audited by SlowMist.
In short, the convert fiat process has three stages you should keep clear in your head:
- Buy: swap your bank money for USDT or USDC, the part where you buy stablecoin with fiat through an exchange or on-ramp.
- Move: send the stablecoin to a wallet you control.
- Use: top up a card or enter DeFi earning.
What USDT and USDC actually are
USDT and USDC are stablecoins (crypto tokens pegged 1:1 to the US dollar, so one token should track one dollar). They live on-chain, meaning their balances and transfers are recorded on a blockchain rather than in a bank database. Because they hold a steady dollar value, they are the most common way to move value between crypto apps without riding the price swings of coins like ETH or BTC. For a beginner, you can think of them as digital dollars you can send anywhere in minutes.
Are USDT and USDC the same thing? They are both dollar-pegged and both trade close to one dollar, but they are issued by different companies. For the purpose of a crypto card top up or using DeFi, you can treat them as interchangeable digital dollars, and BenPay supports both. So whether you go fiat to USDT or fiat to USDC, the end result for spending and earning is much the same.
A seed phrase is the master password to a self-custodial wallet, usually 12 or 24 words. If anyone gets your seed phrase, they get your funds, which is why beginners often prefer a wallet that doesn’t force you to manage one.
The three paths to get USDT/USDC
When you convert fiat into stablecoins, you have three realistic routes. Here they are in order of how common they are:
- Buy on an exchange, then withdraw. Sign up on a major crypto exchange, complete identity verification, deposit fiat via bank transfer or card, and buy USDT or USDC at roughly one dollar each. Then withdraw the stablecoin to a self-custodial wallet address you control. Leaving coins on the exchange means the exchange holds them for you, which is custodial; withdrawing to your own wallet makes them self-custodial. You’ll pay a small withdrawal fee, and the transfer usually lands within minutes.
- Use an on-ramp to buy directly into a wallet. An on-ramp lets you buy crypto with a card or bank payment and sends it straight to a wallet address you specify, skipping the exchange account. This is faster and often simpler for beginners, though the per-transaction fee can be a bit higher. Many self-custodial wallets integrate on-ramps inside the app, so you tap “Buy”, enter your card details, and the stablecoin shows up in your wallet.
- Bridge existing crypto from another chain. If you already hold crypto on a different blockchain, you don’t need to convert fiat again. A bridge is a tool that moves the same asset from one chain to another (it isn’t an exchange where you sell and rebuy). For example, you can bridge USDT from Ethereum to a lower-fee chain so you can spend it without high gas (the small fee paid to process a blockchain transaction).
Paths 1 and 2 are how most beginners convert fiat for the first time. Path 3 matters once you already have assets somewhere and want to consolidate them into the wallet you use for cards and DeFi.
How BenPay handles this
BenPay turns the second half of the journey into one app, so once you have USDT or USDC in hand, you don’t need to jump between tools. BenPay uses a self-custodial architecture, meaning your private keys are never held by BenPay. Here’s how each piece fits.
Wallet
The BenPay Wallet is multi-chain and self-custodial, covering networks like BenFen, Ethereum, BSC, and Base. Its standout feature for beginners is zkLogin, which lets you sign in with Apple or Google, no seed phrase required. Do you need a seed phrase to use BenPay? No. With zkLogin the wallet is still self-custodial, meaning BenPay never holds your private keys. You can also import an existing seed-phrase wallet if you have one, but the no-seed-phrase path is what makes it approachable for someone new to crypto.
Bridge
BenPay’s cross-chain bridge supports 9 blockchain networks and 6 asset types, with most transfers completing within minutes. That covers Bitcoin, Ethereum, BSC, Polygon, Optimism, Arbitrum, Avalanche, Base, and BenFen, with assets like BTC, ETH, USDT, and USDC. If you already hold stablecoins on one of those chains, you bridge them into your BenPay wallet instead of buying new ones, which saves you an extra purchase and its fees. The bridge moves the same asset across chains rather than selling it, so there is no market slippage to worry about.
Card
The BenPay Card accepts USDT and USDC top-ups across multiple chains, so once your stablecoin is in your wallet, a crypto card top up is just a tap. The BenPay Card works with Apple Pay, Google Pay, Alipay, and WeChat Pay, which means it slots into the payment methods you already use day to day. The card balance can earn on-chain yield until you spend, so your idle dollars aren’t just sitting still. The opening fee is 9.9 BUSD. When you’re ready, you can open a BenPay Card and fund it with the stablecoins you bought. Can you top up the card with crypto that isn’t a stablecoin? The card accepts USDT and USDC to keep the balance steady in dollar terms; if you hold ETH or BTC, you would bridge them in and swap to a stablecoin before topping up.
Putting the flow together
Here’s the full funding flow in plain terms, in the order you’d actually do it:
- Start with fiat in your bank.
- Buy USDT or USDC through an exchange or an on-ramp, the step where you convert fiat to stablecoin.
- Withdraw or send that stablecoin to your BenPay wallet address.
- If you have crypto on another chain, bridge it into the same wallet.
- Top up your BenPay Card for spending, or move stablecoins into DeFi Earn to put them to work.
DeFi (decentralized finance) refers to on-chain protocols that let you lend, borrow, or earn yield without a traditional bank. BenPay DeFi Earn routes stablecoins into established on-chain protocols including Aave, Compound, and Unitas, with a 15% fee on earnings only and no management fee on principal. The rate is dynamic, so check the live rate on the DeFi Earn page rather than relying on a fixed number. Redemption is on demand with no lock-up, which keeps your money flexible.
Which path fits you
If you’re starting from zero crypto, Path 1 or Path 2 is your route: convert fiat into USDT or USDC and send it to your BenPay wallet. Path 1 suits people who already have an exchange account or want the tightest spreads; Path 2 suits people who want the fewest steps.
If you already hold crypto on another chain, skip the buy step and use Path 3: bridge your existing stablecoins into your BenPay wallet, then top up the card or enter DeFi Earn.
One safety note that applies to every path: on-chain transactions are irreversible, so a wrong address usually means lost funds. Always copy the address from inside the app you’re sending to, and do a small test transfer first if the amount is large. Custodial platforms can freeze or delay withdrawals; a self-custodial wallet can’t, because the keys are yours.
Where this leaves you
Learning to convert fiat into USDT or USDC is really a two-step idea: buy a dollar-pegged stablecoin, then put it in a wallet you control. Once it’s there, the same balance can top up a card for everyday spending or earn yield through DeFi. When you convert fiat with this plan in mind, BenPay’s job is to make that second half feel like one app rather than three, with a no-seed-phrase wallet, a multi-chain bridge, and a card that takes the stablecoins you already bought.